Developers
Web SDK via Google Tag Manager
Google Tag Manager(GTM) allows for the management of tags that store marketing and third-party code snippets while reducing the amount of necessary production code releases and engineering resources utilized. These templates are best used to speed up implementation of mParticle in situations where GTM was previously utilized across a company’s technical stack. This guide will walk you through steps to integrate the basic functionality of the mParticle Web SDK through GTM.
Available Templates
- Initialization Template
- IDSync Template
- Commerce Event Template
- Custom Event Template
- Screen View Event Template
Initialization Template
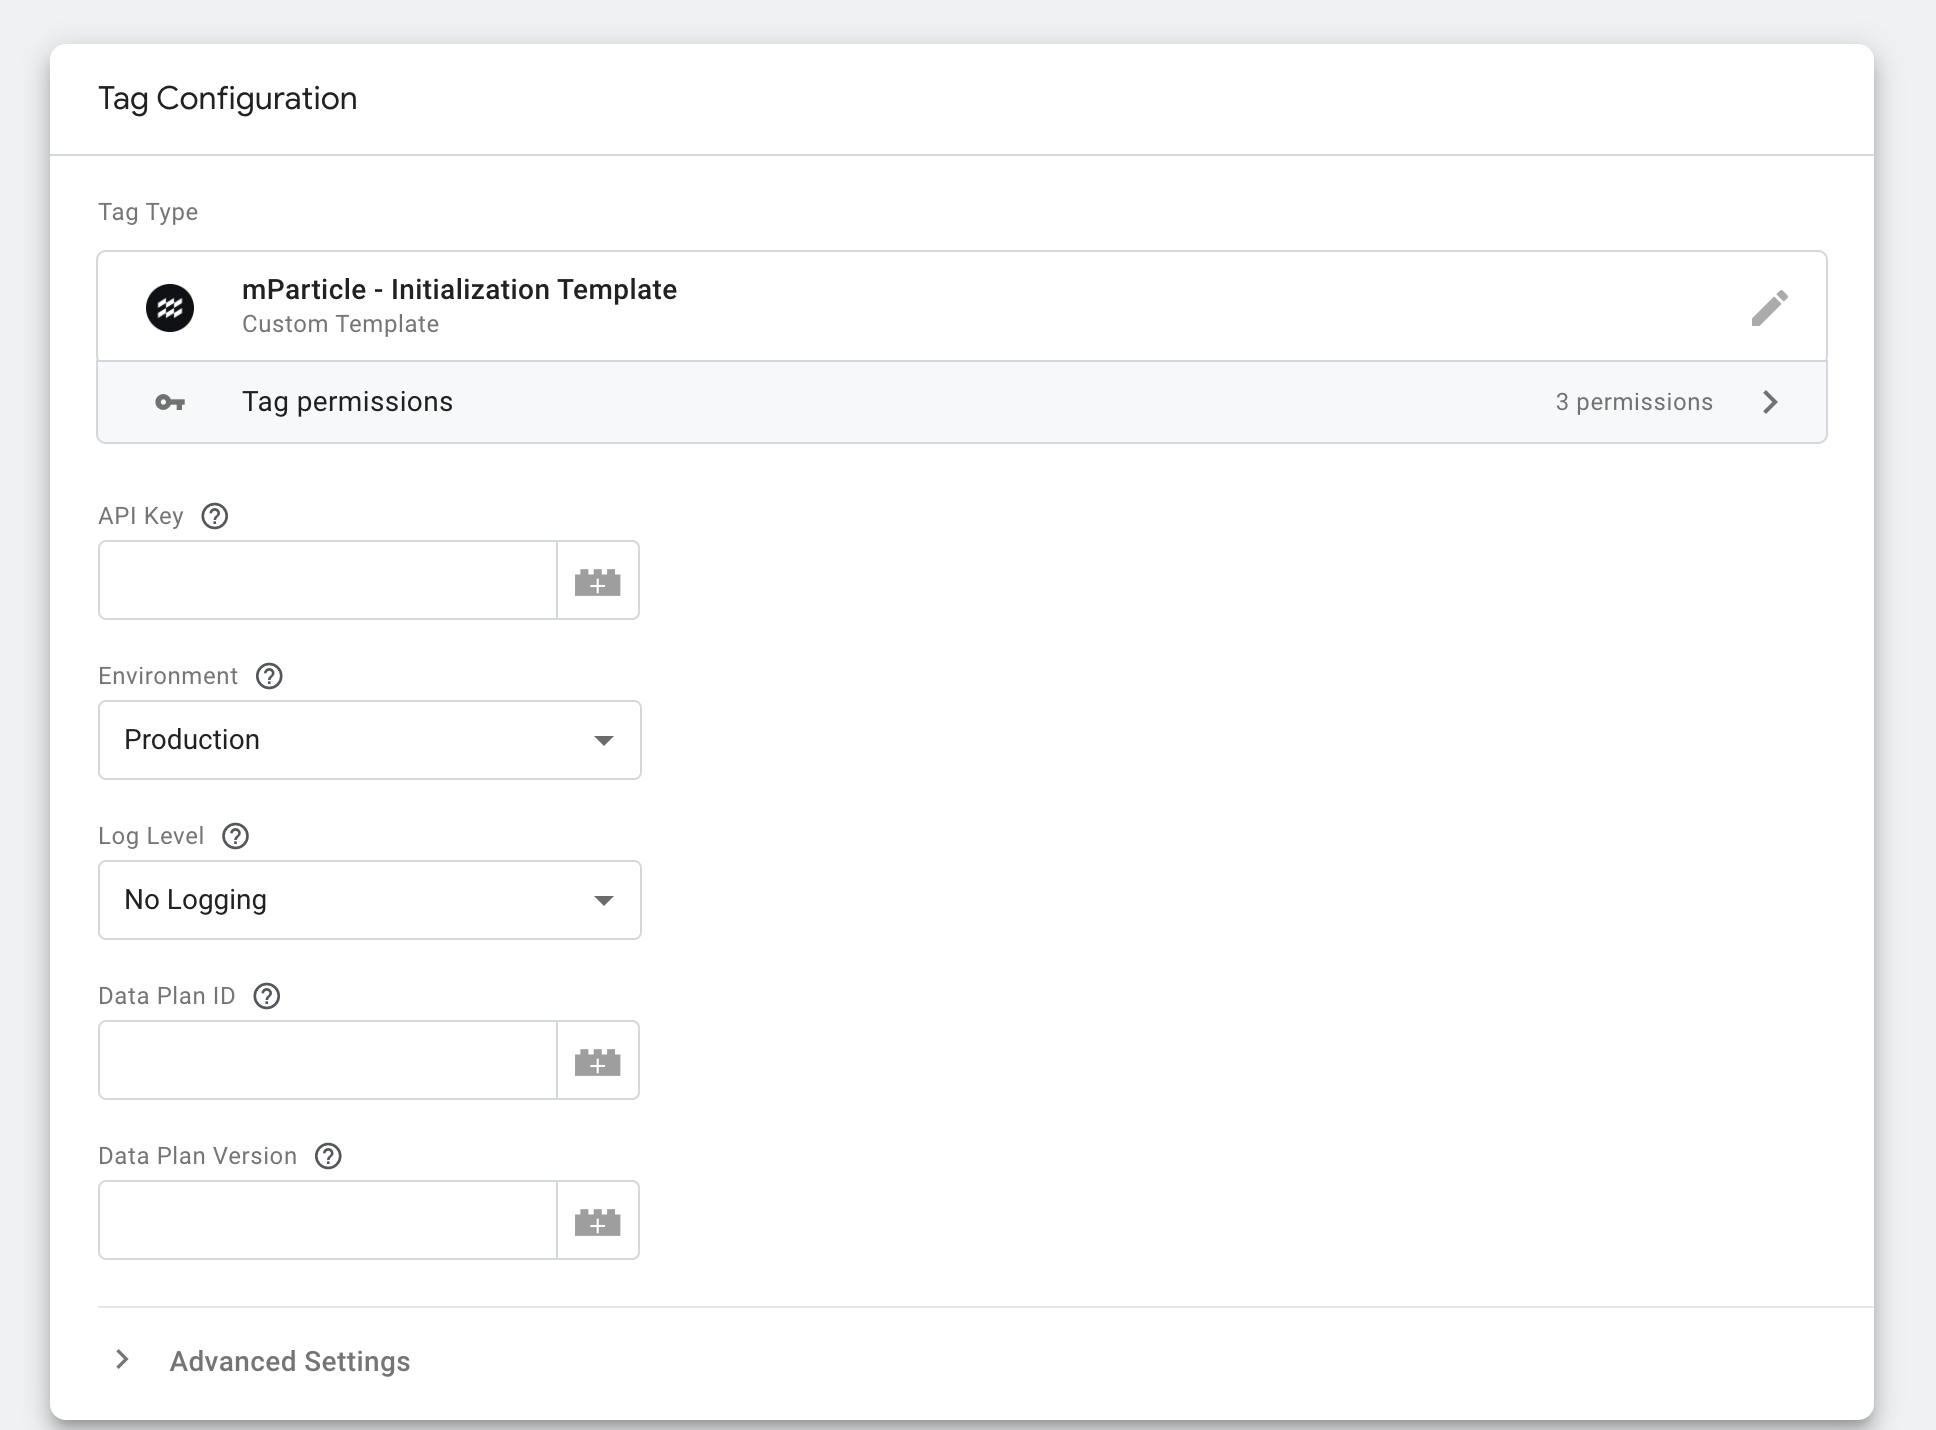
This template allows for the configuration and loading of the mParticle SDK on your site.
Steps to enable:
- Select the Initialization Tag Template from the Google Community Template Gallery or import the
.tplfile into your GTM workspace. The.tplfile can be found in the Initialization Template Github Repo. - Configure your tag with the proper API Key and desired settings.

- Configure the trigger to load the SDK as the page is loaded. More info on how to configure triggers can be found here.
- Deploy the tag.
- Test: you should see
window.mParticleloaded on the your webpage.
IDSync Template
This GTM template allows for a customer to be logged in, logged out, or modified by your GTM implementation. This tag required the successful loading of the mParticle SDK to have been completed prior to this tag firing. This does require some additional set-up in comparison to other GTM tag templates, an identity callback function and user identities will need to be added to the data layer before the tag is triggered.
Steps to enable:
- Enable the data layer.
<script>

    //configure the data layer
    window.dataLayer = window.dataLayer || [];

</script>- Add an identity callback to the data layer.
 <script>

    //add a custom identity callback to the data layer
    dataLayer.push({
        identityCallback: function(result) {
            if (result.getUser()) {
                // Do something once an identity call has been made.
                // For more information, see https://docs.mparticle.com/developers/sdk/web/idsync/#sdk-initialization-and-identify
                console.log(result);
            }
        },
    });

</script>- Add desired user identities to the data layer.
<script type="text/javascript">

        //this is an example function that runs when the login button is clicked.
       function processIDSync(eventName){
            let email = document.querySelector('#email').value;
            dataLayer.push({
                'userIdentities': {
                    'email': email
                }
            })

            //this is the example GTM custom event trigger for IDSync, please note that the identities are pushed before the trigger event.
            dataLayer.push({'event': gtm-login-click'})
        }
</script>- Select the IDSync Template from the Google Community Template Gallery or import the
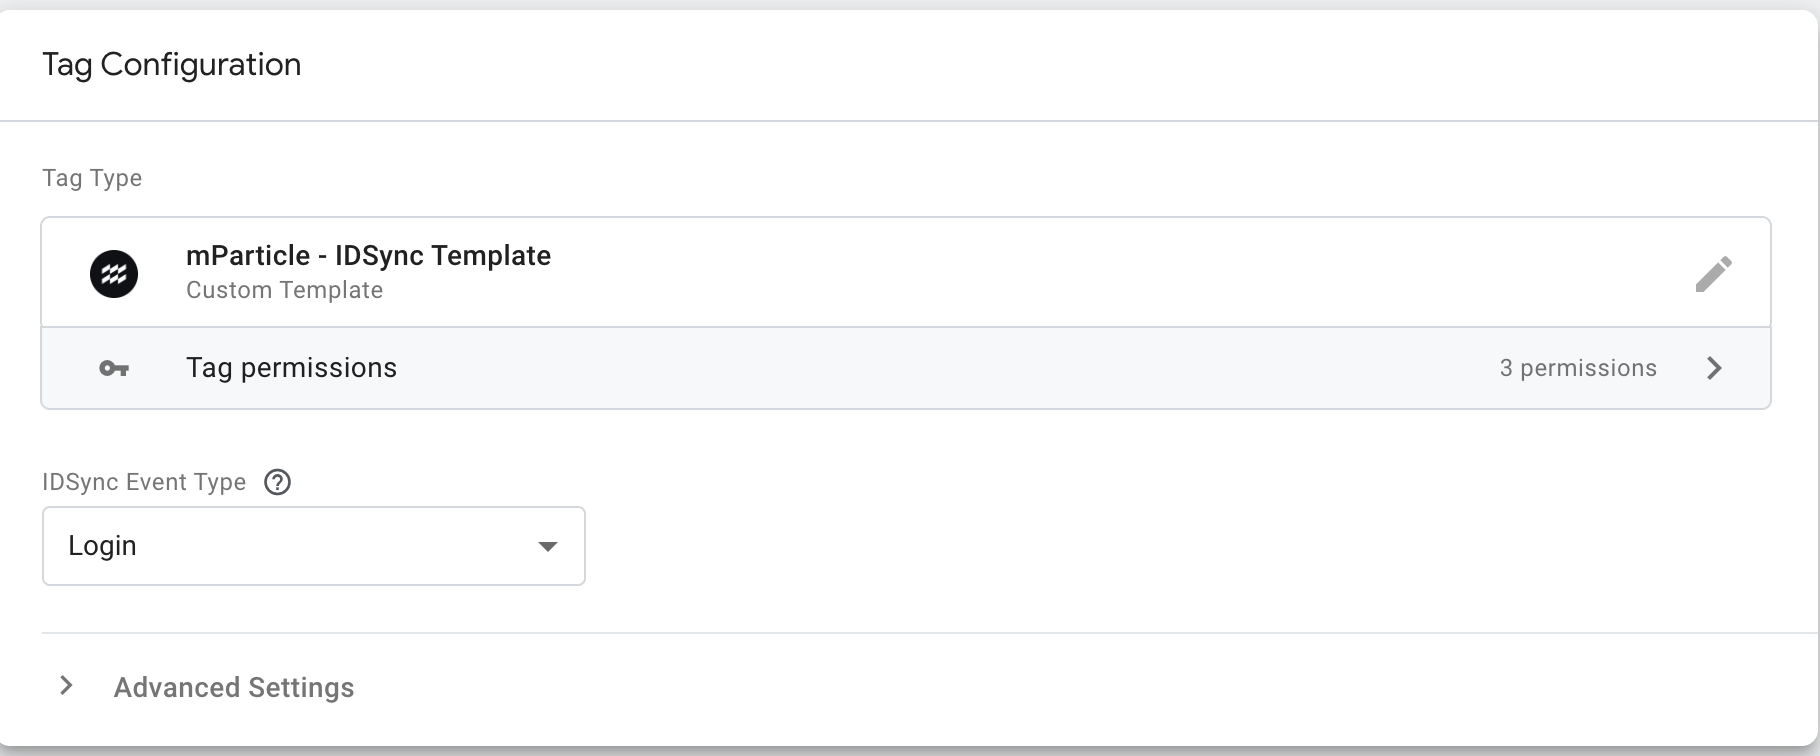
.tplfile into your GTM workspace. The.tplfile can be found in the IDSync Template Github Repo. - Configure the tag with the desired IDSync event type.

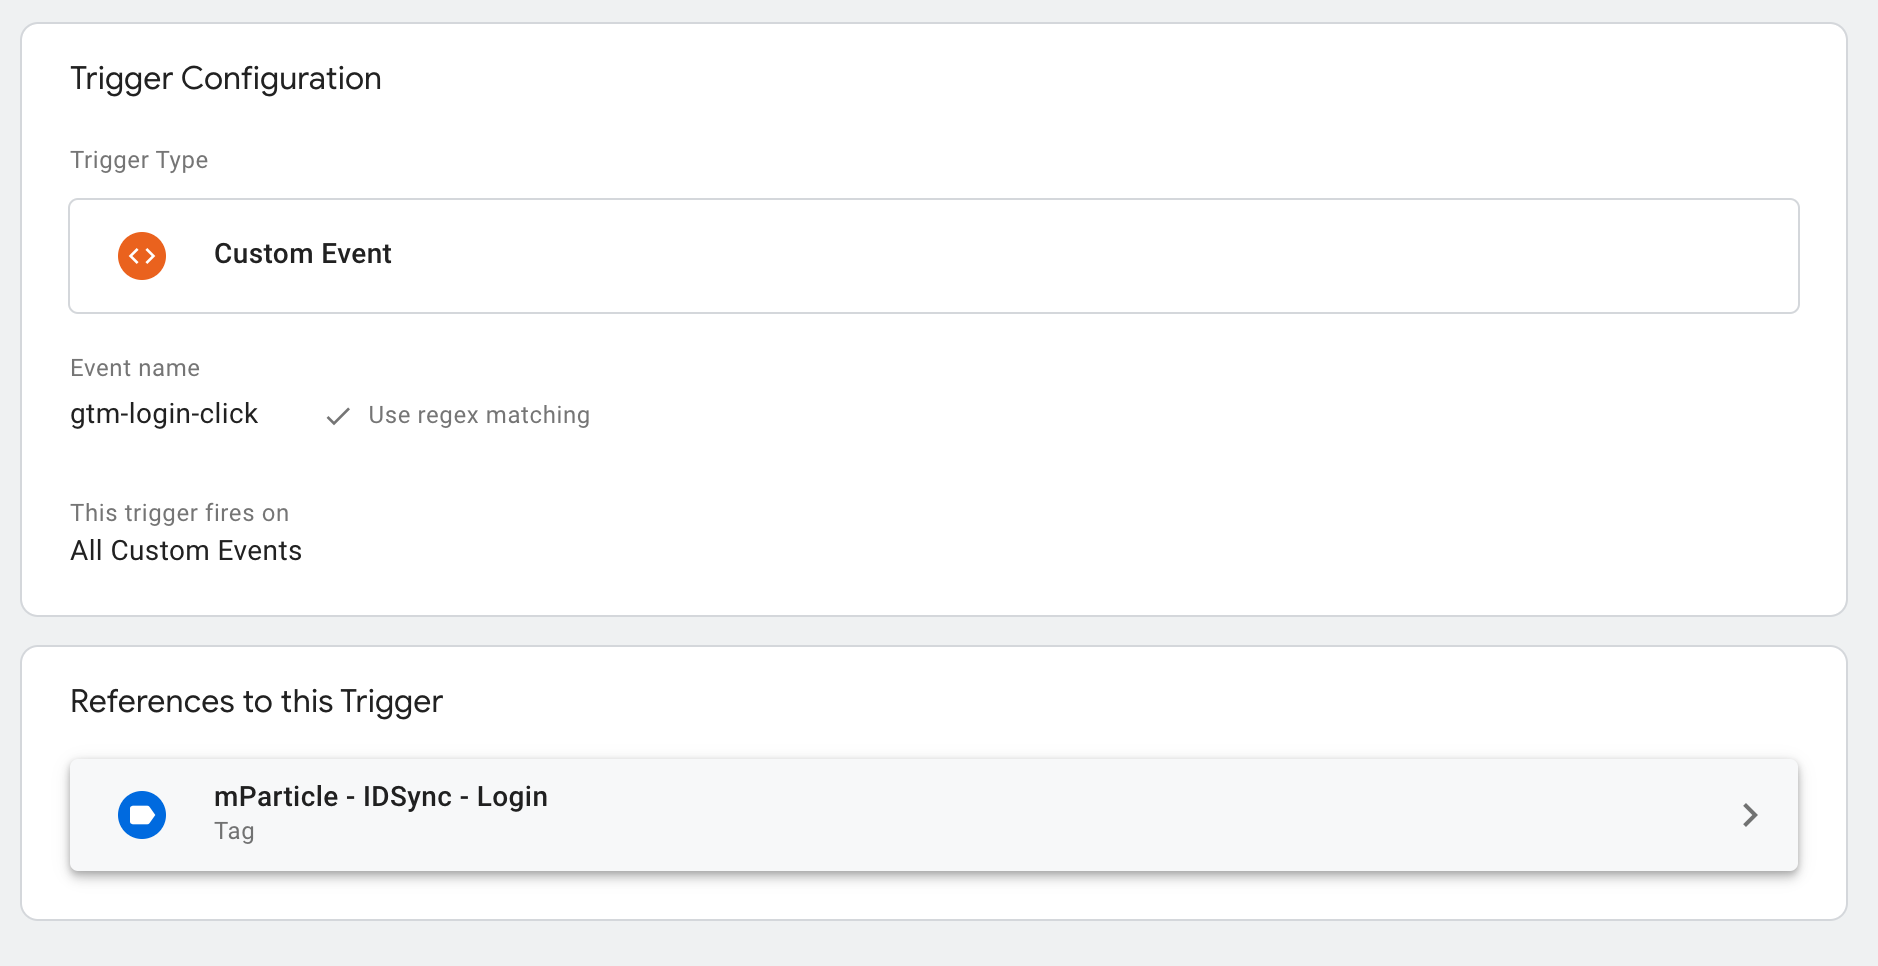
- Configure the trigger to coincide with the desired IDSync event.
gtm-login-clickis used in this example. More info on how to configure triggers can be found here.
- Deploy the tag.
Commerce, Custom, and Screen View Event Templates
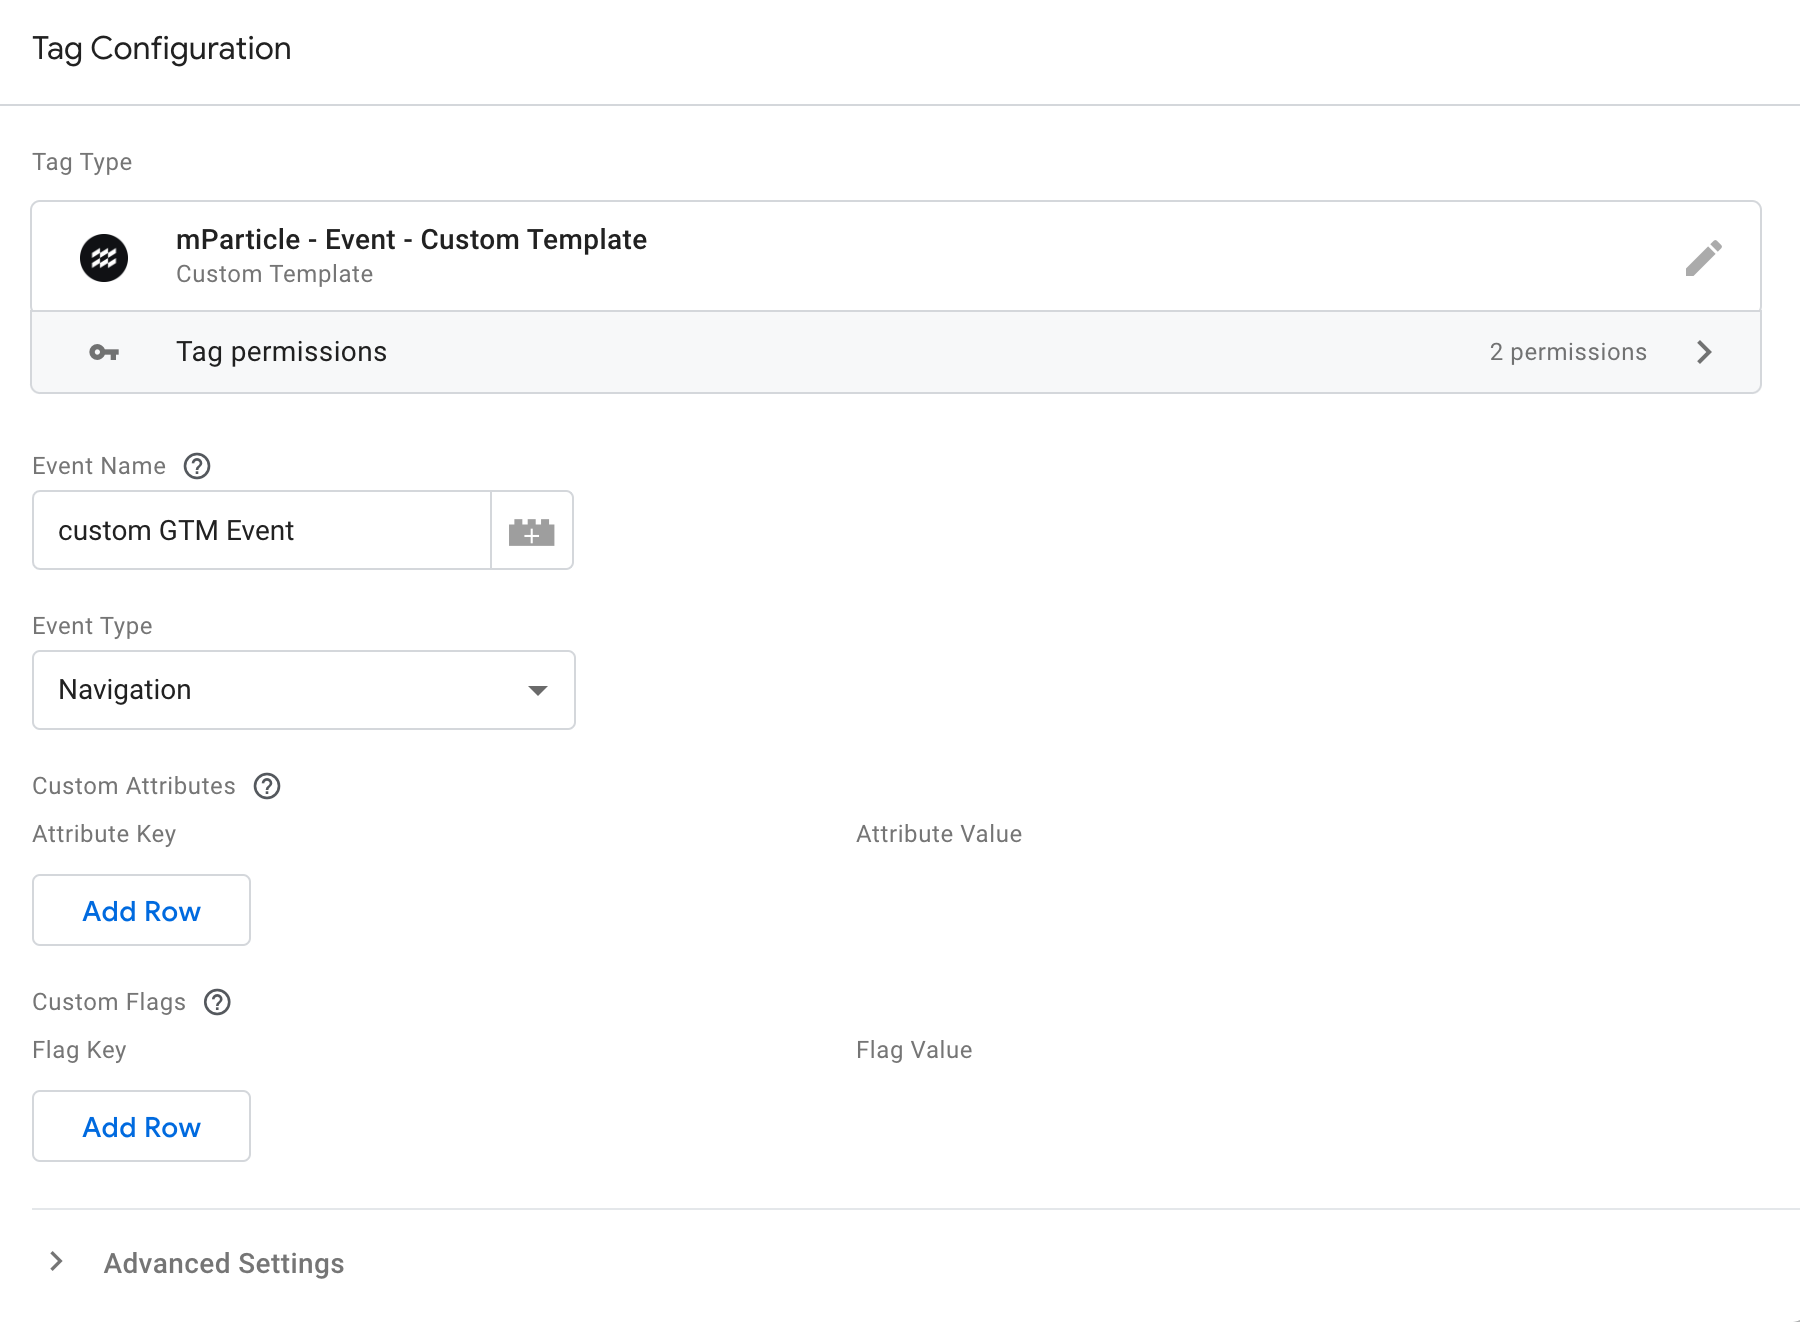
These three templates have similar enablement steps. mParticle Commerce Events, mParticle Custom Event, and mParticle Screen View Event can be tracked by leveraging these GTM templates. The current iteration of the commerce event template only supports a single product for product actions. Additionally, the product must be configured as part of the tag. The mParticle SDK must be initialized prior to any of these GTM tags firing for the event to be logged appropriately.
Steps to enable:
- Select the Tag Template from the Google Community Template Gallery or import the
.tplfile into your GTM workspace. The.tplfiles can be found in the Commerce Event Template Github Repo, the Custom Event Template Github Repo, or the Screen View Event Template Github Repo. - Configure the tag with all desired attributes and flags.

- Configure the tag’s trigger. More info on how to configure triggers can be found here.
- Deploy the tag.
Was this page helpful?