Scheduled Reports
Introduce analytics to your day-to-day with Reports! Users can schedule their dashboard results to be sent to other Analytics users, executives, or external partners and stakeholders. Once a report is created, your dashboard will refresh at the selected date and time, and a PDF will be sent to the selected individuals. In addition to the PDF snapshot, Analytics users may access your dashboard to view results in real time. Any teammate with access to your Analytics project can create a Scheduled Report …
Create a Scheduled Report
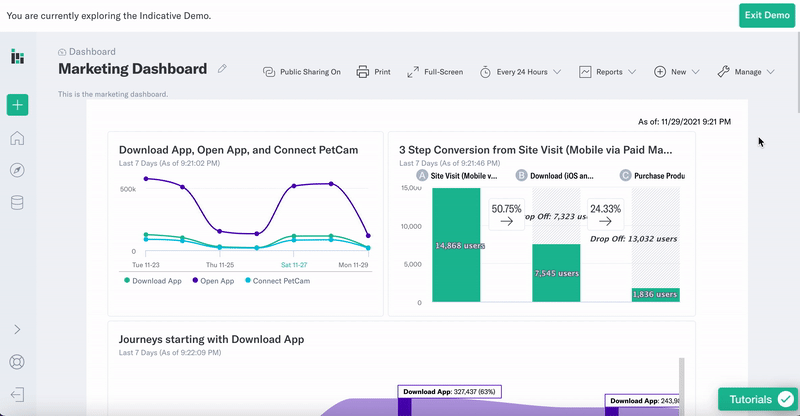
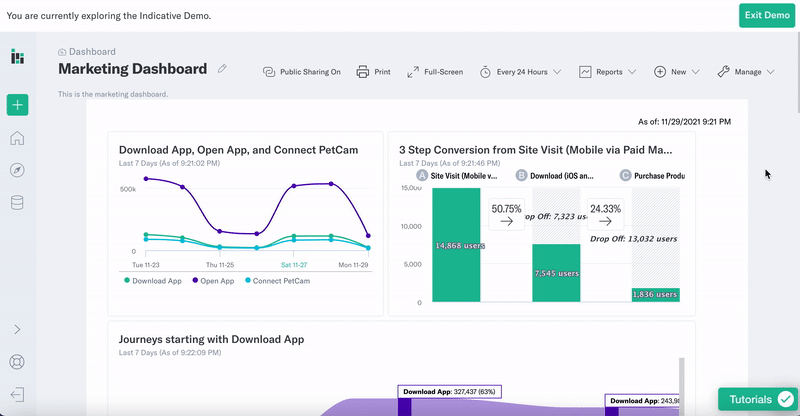
To create a scheduled report, you must first create a dashboard to send it from. For more information on how to build a dashboard, see Getting Started: Dashboards. If you already have a dashboard that you’d like to use, navigate to that dashboard via Saved Analyses & Dashboards in the left navigation menu.
For best results, it’s recommended that your dashboard be in Print Mode before scheduling a report. If you desire to keep your report in Screen Mode, then Analytics recommends duplicating the dashboard and creating a Scheduled Report from the duplicate.
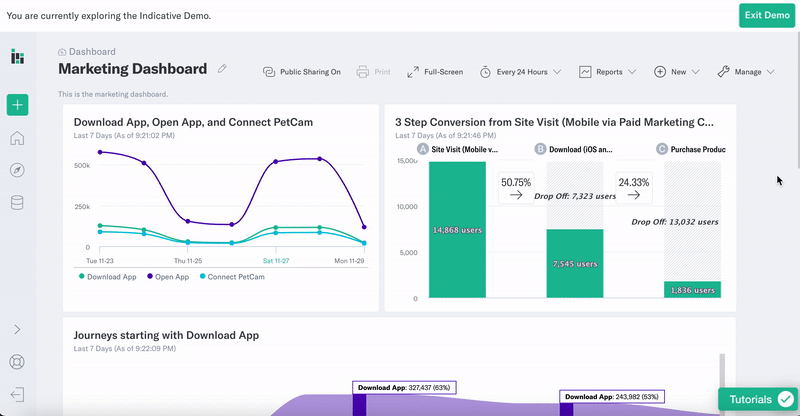
Once you have selected your desired dashboard and changed your dashboard layout mode to Print Mode, open the Reports dropdown in Dashboards settings at the top right of the dashboard. Here, you may create a new Scheduled Report or view your existing Scheduled Reports. We recommend that you check and see if someone else within your organization has already created a Scheduled Report from this dashboard. If there is an existing report, you may open the report to edit the recipients.
Once you have selected “New Scheduled Report”, a sidebar will appear on the right side of your screen.
The default title of a Scheduled Report will be the title of the underlying dashboard. You may edit the title, select the frequency of the report, and select the recipients. You may schedule your report to be sent daily, weekly, monthly by day (i.e. first Monday of the month), or monthly by date. Next, choose the time at which the dashboard will refresh and the report will be sent. Scheduled reports are sent on the hour. Please note your project time zone when saving scheduled reports, taking into acco…
In the recipients field, enter the email addresses to which you would like to send the report. Recipients do not need an Analytics account to receive a scheduled report:
- Analytics users will receive a PDF of the dashboard and a link to the dashboard itself
- Non-Analytics users will receive a PDF of the dashboard and a public URL
Remember to review the reports’ editing privileges. You may choose to enable editing privileges to your entire team.
Send a Test
Analytics recommends sending a test report to your email to confirm that the scheduled report is configured correctly. Remember to review the attached PDF to ensure that results are correct and up to date. The test report will be sent to the email associated with your Analytics account.
Click “Save Report” to save your scheduled report settings. Once you click “Save Report,” your scheduled report is confirmed, and it will be sent at the interval selected in the previous steps.
Manage your Reports
View your existing Reports by selecting the Settings icon on the left navigation menu and navigating to Scheduled Reports.
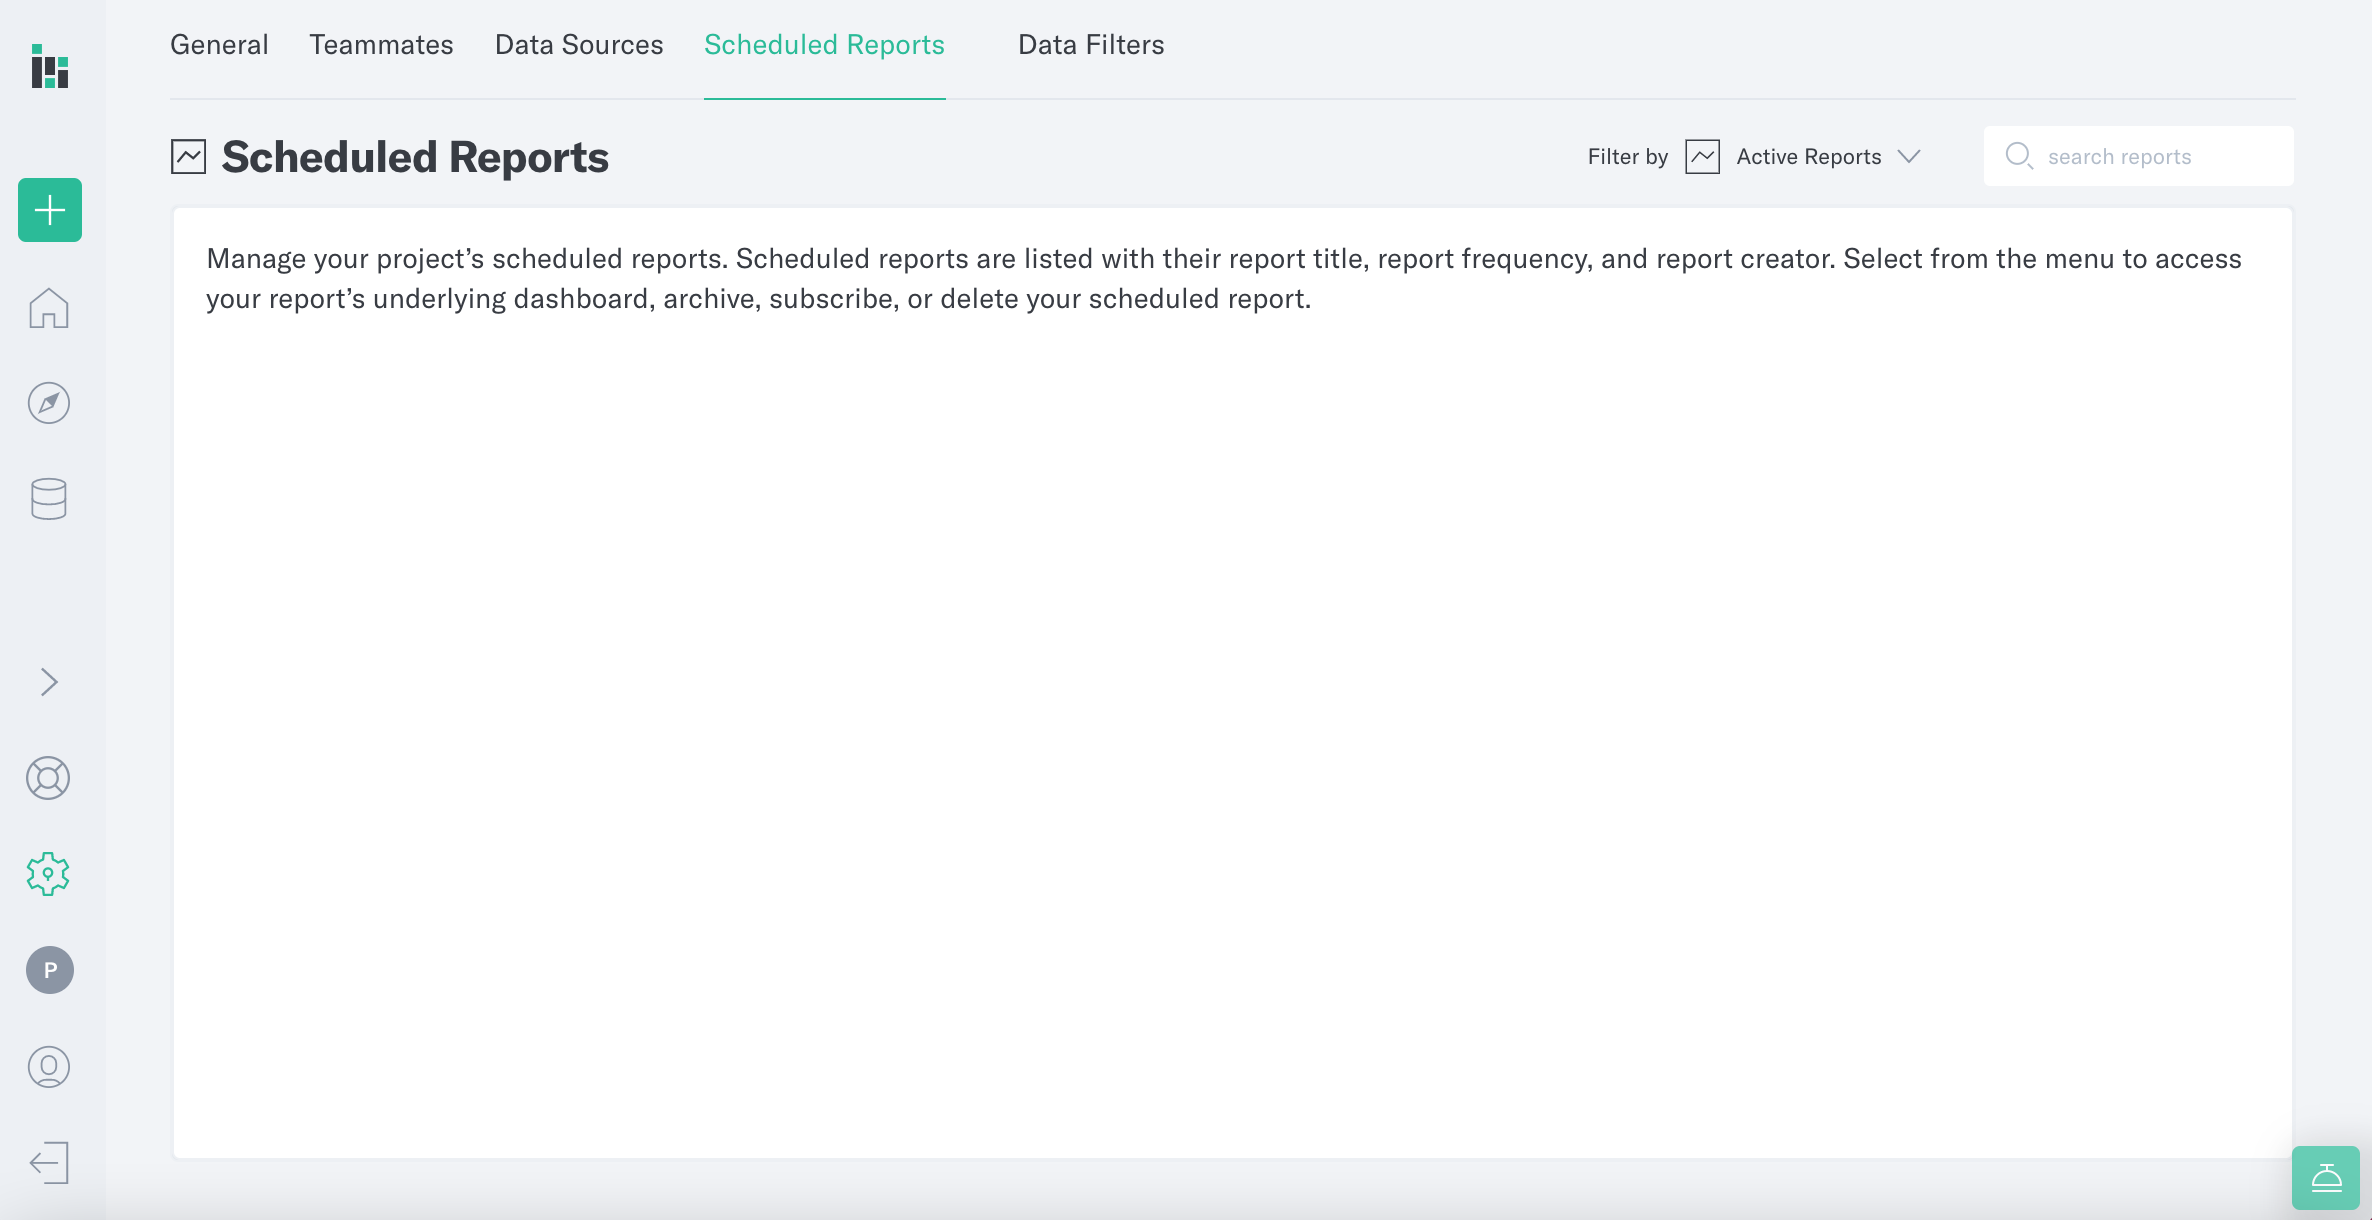
Here, you can view all of your organization’s Scheduled Reports in a table format, including the following information:
- Report title
- The time the report is scheduled to be sent
- The creator of the report
- The time that the report was created
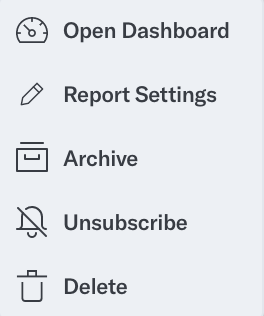
Additional report actions are available by choosing the three-dot menu on the right of each report, including:
- View Dashboard
- Edit Settings
- Unsubscribe
- Archive
- Delete
Archiving and Deleting
Archiving and deleting are the two methods of disabling an existing scheduled report.
Archiving a report will disable the report indefinitely. Archived reports will be greyed out in the Scheduled Reports list, which can be filtered using the settings on the top right. To unarchive a report, select the three-dot menu to the right of the report and choose “Activate”.
Deleting a scheduled report is permanent and irreversible. Only do so if you are sure that the report is no longer relevant. The underlying dashboard will remain, but the report will be permanently deleted.
Was this page helpful?